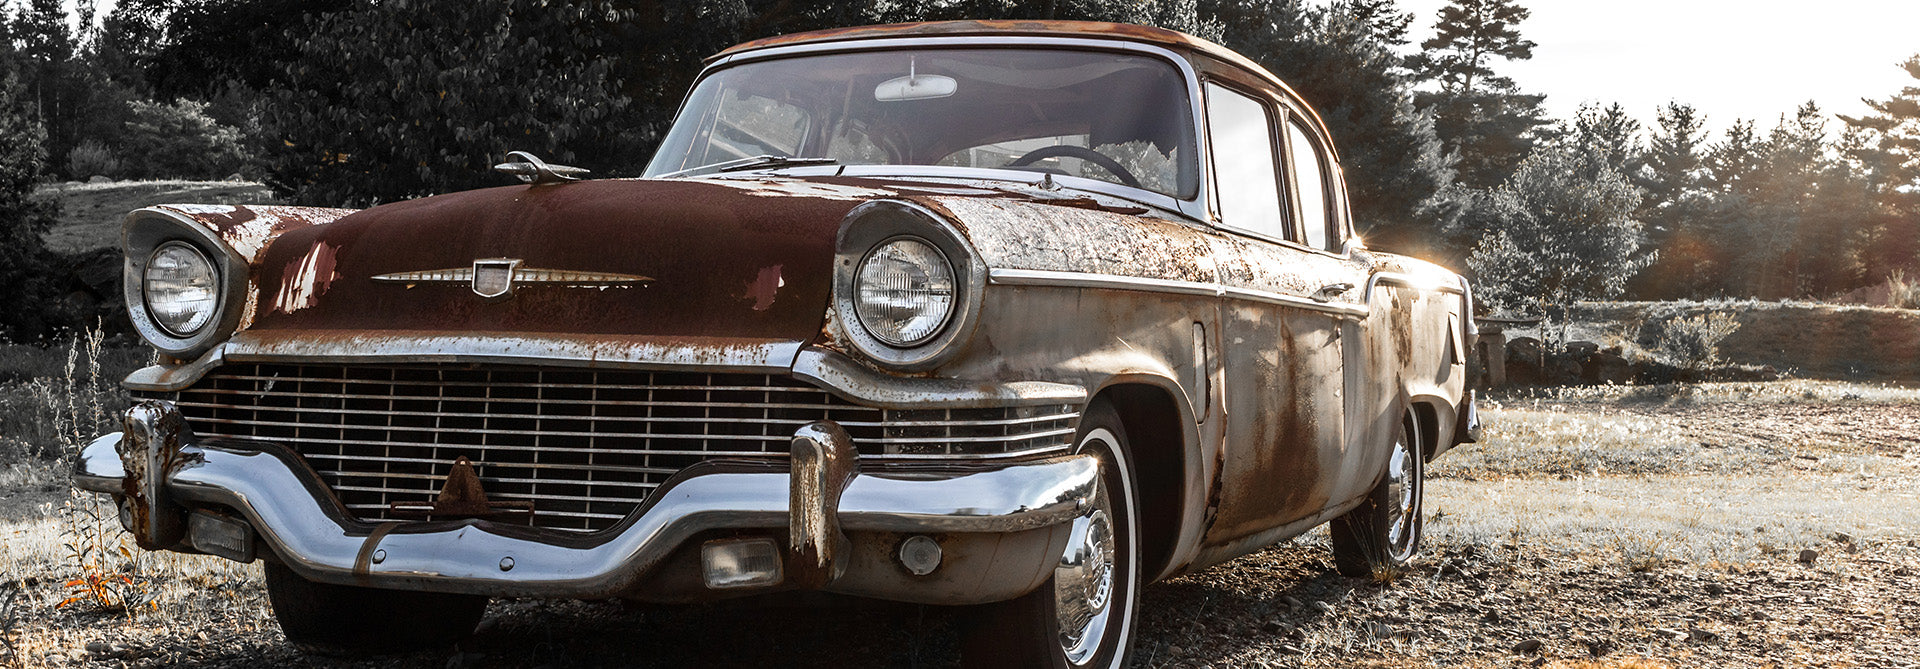
“Clothes make the man.” This famous quote implies that no matter what’s under the hood, your paint job is what completes the car. While this tends to be more applicable for classic car restoration than other areas of automotive welding, it’s hard to deny how much a paint touch-up can really improve the overall look and feel of your vehicle.
Beyond looks, paint is essential for preventing rust on most panels. Knowing how to do your own touch-up work can save you some serious cash, though it’s no easy task. In this guide, we’ll cover how to do paint touch-ups the right way.
Manage Your Expectations
Before you begin, it’s important to understand what is possible with a paint touch-up. Without completely repainting a panel or very expensive equipment and expertise, it’s impossible to achieve a perfect touch-up. Even professional touch-ups will be visible at certain angles or in certain lighting.
This is because your vehicle’s paint is altered over years of being exposed to the atmosphere and the sun’s rays. This exposure changes the color of your paint in nuanced ways. It’s almost impossible to match a touch-up perfectly, even if you have the exact same paint and clear coat originally used on the vehicle. However, With a little practice and a lot of patience, you’ll be able to complete some beautiful paint touch-ups. Just manage your expectations accordingly.
Step 1: Cleaning
The vast majority of automobile paint jobs use a high-gloss coating to give them that iconic shine. The downside is that light strongly interacts with your paint. Uneven surfaces stand out much more than they normally would with non-gloss paint.
For this reason, cleaning and sanding are essential parts of the paint touch-up process. This also helps identify the areas where paint touch ups are needed.
Begin by washing your car. A lot of experts will also do a machine polish on the vehicle. This tends to help remove any small defects so you know what needs repainting and what doesn’t. However, a polish might not always be needed—depending on your situation.

In the areas where paint is needed, use a glass spray cleaner and a microfiber cloth to really clear off the surfaces. Once your surfaces are clean, it’s always smart to identify the areas you’ll be touching up with either small strips of masking tape or a wax pen. It’s easier than you think to miss a few spots as you really get into the process.
Step 2: Sanding
Possibly our least favorite task in the entire world, sanding is unfortunately crucial to the touch-up process. To begin, you’ll want a very gentle sanding grit, generally around 1500 to 2500. Many experts will even wet sand during this part, just so they don’t remove too much material too quickly.
Sand the immediate area around your touch-up spots with short, light strokes. We’d strongly recommend not applying any downward pressure. All you're trying to do is remove any damaged paint edges and give the new paint something to stick to, not remove all the surrounding paint. You’re finished when the touch-up spot has lost its glossy shine and you can rub your finger over the area without feeling any sort of protrusion.

Step 3: Paint Thinner
After sanding, most experts recommend dipping a cotton swab in paint thinner and cleaning off the damaged area. This helps to remove any sort of old paint residue which could prevent the new paint from correctly adhering to the vehicle’s surface.
Step 4: Apply the First Coat
Most online guides don’t go much into finding and matching your automotive paint, as it can be difficult to do and requires a certain eye for matching colors. Ideally, you’re only touching up small paint sections with a simple color. If you’re trying to paint a large area that requires some type of exotic coloring, you might want to go with a paid professional.
If at all possible, try to find a paint that states it’s specifically made for automobile use. These are generally acrylic polyurethane paints or sometimes they might even just say “Urethane auto paint.” As for matching colors, the best solution is to do a test painting on a spare piece of material similar to your car or in an inconspicuous spot. As mentioned, the coloring isn’t going to match perfectly with the rest of the vehicle as its coloring has been altered over time.

Identifying the exact paint color needed depends entirely on your vehicle. Some color codes are listed on the driver side door jamb. Other vehicles might require the help of online forums or websites. If you know the vehicle has a custom paint job, try contacting the shop where the vehicle was first painted.
Most auto paints will have a colored base coat which is then followed by a separate clear coat. You’ll always want to start with the base coat. Using a fine brush or even a toothpick (if the touch-up area is small enough), apply a thin coat, then wait for the paint to dry (the time will depend on the instructions listed on the paint you’re using). Most paints will lose some of their volume as they dry, especially automobile paints that contain a fair amount of thinners. After the paint is dry to the touch, you can determine if you need a second coat of base paint or not.
Step 5: Clear Coat
The clear coat is what really gives automobile paint that shine we all recognize. After properly applying your base coat and waiting the required amount of time, you’ll begin building up the clear coat. The end goal is to have your new clear coat level with the surface of the rest of the vehicle.
Similar to the base coat, your clear coat will lose volume as it dries. Make sure you wait the appropriate amount of time before applying the next coat. Once you’ve added enough layers that the new clear coat is level with the rest of the vehicle, we’d recommend you wait a full 48 hours (or whatever your clear coat instructs) before moving on. This gives your new paint enough time to completely harden.
Step 6: Final Refinements
After the paint and clear coat have completely hardened, you might notice your new clear coat isn’t completely level with the rest of the vehicle’s surface. Very carefully, you can sand down your new clear coat in the same way we originally sanded the spots. Again, don’t use any downward pressure and check your progress frequently. You don’t want to sand through the new clear coat or you’ll have to start from the beginning.
To finish off your sanding, we’d recommend doing a few final passes with 3000 to 4000 grit. This is very fine, which will act to smooth over the sanding scratches from your previous work.
Step 7: Polishing Compound
The final step is to give the entire area a good polishing with a compound. This will also help your touch-ups blend in with the rest of the vehicle’s surface. However, as we mentioned, even professional touch-ups usually won’t blend perfectly—unless the entire panel is repainted.

Like most automobile work, paint touch-ups can take a lot of effort and patience. However, paint really does bring all your work together in a very satisfying way. For more automobile welding, repair and alteration guides, check out our complete how-to section here. Don’t forget that Weld My Ride is the only online store specifically dedicated to automobile welders, featuring the best prices and the top brands in the industry.


